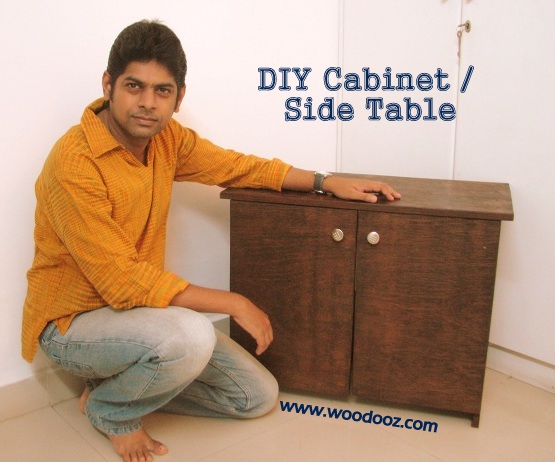
I had started the project on bedside table last week and had decided to put up the step by step process of the progress. The first step towards making any piece of furniture is to
get the design in place. This enables you to fix the dimensions, which in turn provides you the input on the amount of materials that you need to buy. This being DIY, you can choose to have your own design and dimensions. We wanted the table to be in line with the mattress which fixed the height at 20 inches.
 |
| Dimensions for the table |
Materials and tools required
- The Wooden legs : I wanted the legs to be 1 inch x 1 inch and required them to provide stability to the whole structure. Based on the above design, I needed the following:
- 4 x 20 inches long legs (Vertically placed)
- 8 x 14 inches long legs (Horizontally placed - 4 on top and 4 in the middle )
- At the plywood store, I was shown 1 inch x 1 inch teak wood legs which was just perfect. They come in 8 feet length and costed Rs.25 per foot.
- Based on the dimensions, I needed 192 inches (exactly 16 feet). To allow for minimal wastage, I bought 2 x 8 feet and 1 x 2 feet of the teak wood
- A hacksaw blade for the cutting needs
 |
| Teak Wood Legs for the Side table |
Cutting the wooden legs to required dimension
I have always maintained that it is
fine to outsource your cutting needs should you have constraints in terms of space, non-availability of tools / skills. While it is quite a task to cut sheets of wood above 12mm in thickness and one may need a handsaw or a circular saw, for some of the requirements (as in this case), hacksaw blades would do the job neat and clean. It is easy to use, easily available and will not cost you more than Rs.15. I used a hacksaw blade to cut the teak wood legs.
 |
| Cutting the wooden legs using hacksaw blade |
Fixing the wooden legs
With the legs cut to the required dimension, the next step naturally is to fix the legs. Considering I am getting only limited time during the weekends, this will be the next step in the process. I still have not decided whether to use screws or a cross dowel to fix this up. Whatever might be the case, I will be using only
butt joint to join the wooden legs together.
 |
| Wooden legs cut and ready to be fixed |
Do watch this space next Monday for the next step in the process. Hopefully, I should be ready with the basic structure of the table by this week. I am thinking of putting up a video post (at a later time) on this entire project subject to availability of time. Do leave your feedback and share your thoughts on this project.


