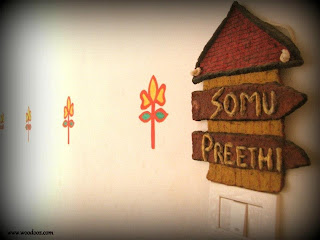
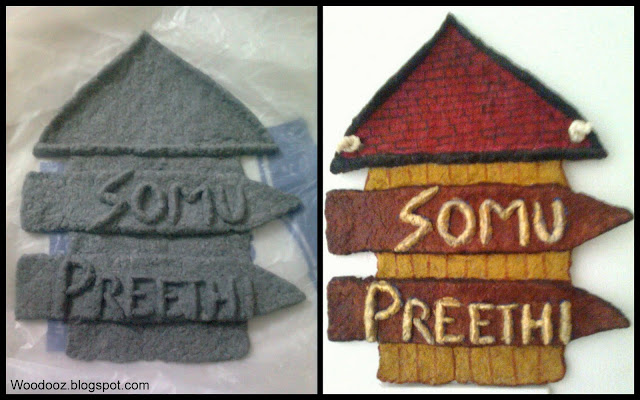
Second in our series of WOODOOZ SHOWCASE, we bring to you a craft project by Subbu Padmanabhan. We once did two tribal face masks and then a personalized name board using paper mache. Here’s a paper mache craft idea that combines the faces and the name plate into one beautiful welcome board for the entrance.
Read more to know what Subbu has to say about her project, in her own words.
"I had a spare wooden plank and lots of time during my son’s summer vacation and wanted to use them resourcefully. One of the many things I made was this name board for my home in Bangalore .
I wanted to make a home, faces to represent the occupants of the home and then our names. Making the paper mache paste is easy and you can find a detailed step by step description of how Preethi made the paper mache paste here in Woodooz. One additional thing I did was add chalk paste putty when I ran short of flour."
"The grey color is because of the water in the mix. Once the figures are made, they need to be allowed to dry for a minimum of 24 hours before you can do anything with it. Once dried, it takes a lighter color with all the water drained off. I made the letters separately and then set it on the plank."
"Once I was happy with the arrangement, I set out to color the faces and the letters. I used acrylic colors to give the entire project some life."
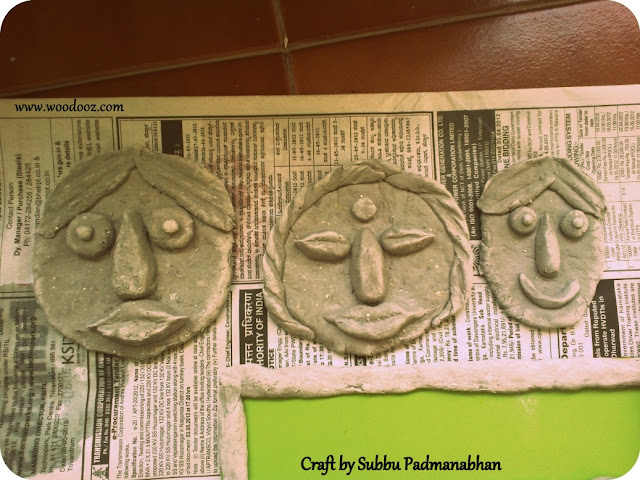 |
| Paper Mache faces |
"The grey color is because of the water in the mix. Once the figures are made, they need to be allowed to dry for a minimum of 24 hours before you can do anything with it. Once dried, it takes a lighter color with all the water drained off. I made the letters separately and then set it on the plank."
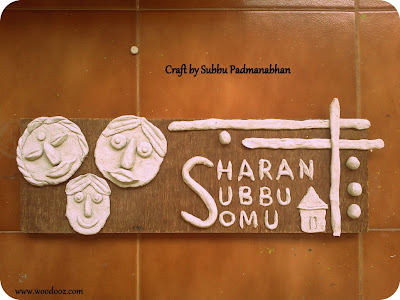 |
| Arranged to be glued |
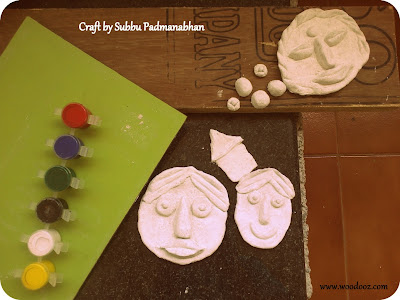 |
| Acrylic colors for painting |
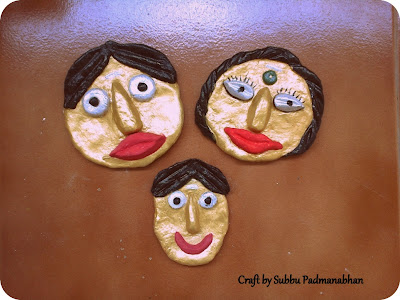 |
| Paper mache faces painted |
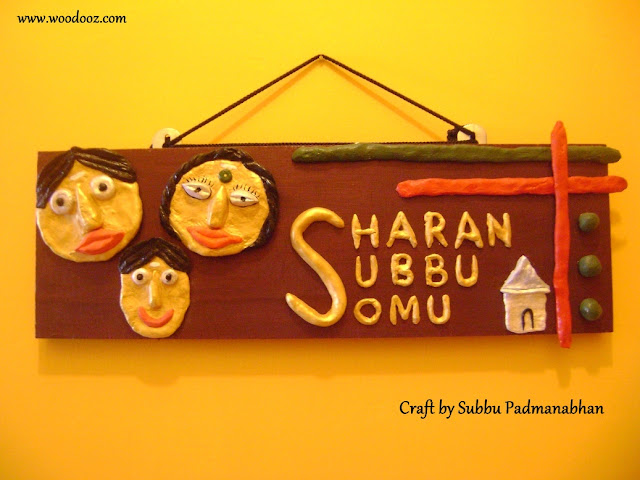 |
| DIY Paper Mache Craft |
By the way, her friends in the apartment loved the name plate so much that one of them wanted to learn how it was made and another wanted to custom make a plate similar to this one. Isn’t that wonderful ?
About the Artist
Subbu Padmanabhan is a mom to a 3 something year old boy, and works as faculty in a premier play school. She likes to indulge in mini crafts projects, for the school and her home, during her spare time. The wall art that you see in the backdrop of this bedside lamp is her handiwork too. She lives in Bangalore.
You may also be interested in
- Somu


