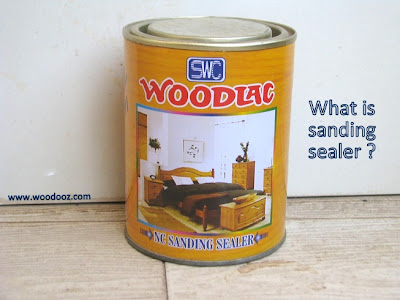
The sanded surface of the wood looks very smooth. But in reality, if you inspect closely, the wooden surface will have minute pores and jagged valleys. Application of stain directly on top of the sanded surface may, and I repeat, may result in uneven absorption of the stain. While the color is taken in well by most portion of the wooden surface, some portions may look patchy because of poor absorption of the applied stain.
| Complete guide to wood staining
|
 |
| Sanding Sealer |
Other posts in the staining wood series
| 1. Introduction to stains 2. Steps in staining wood | 3. How to sand wood 4. Wood sealers explained | 5. How to seal wood 6. How to stain wood |
Secondly, while sanding results in desired smoothness, it does not necessarily make the surface completely flat, and this you would notice when you run your palm / fingers along the sanded surface.
Sanding sealers help in overcoming the above two issues. Here's what sealers do when applied on a wooden surface:
- They fill the pores along the wooden surface and make it smooth to the touch
- The allow for consistent absorption of stain coat preventing patchiness
- They also bring out the splendor of the grain pattern when stain is applied
- Each layer of sealer can be sanded with fine grit sand paper (hence the name sanding sealer) adding increasing levels of evenness to the surface
There is also an opinion that sealers should actually go on top of the stain and is not an equivalent of pre-stain conditioners. However, in my personal experience, since sealers are used with thinners, I have seen the thinner removing the stained color from off the surface. Most carpenters I have had a word with state that they actually mix the stain and sealer and apply it in one go. I have not tried it and hence not able to comment on it.
For now, we have already seen how sanding is a mandatory surface preparation step in the staining process. The next post is all about sealers and how they can be applied on wooden surface. Have you stained furniture before? Did you have to work with sealers? Leave me a comment and share your experience.
For now, we have already seen how sanding is a mandatory surface preparation step in the staining process. The next post is all about sealers and how they can be applied on wooden surface. Have you stained furniture before? Did you have to work with sealers? Leave me a comment and share your experience.
Linking in : Colours Dekor


