When we made a post on a DIY laptop stand, Vinay Oommen from House on the Rock asked : "Hi Can you post sometime on how to work with laminate : How to cut it, paste it and precautions to be taken, tools to use and avoid etc." So here goes.
Wooden laminate, a popular choice for wardrobes and kitchen cabinets, is ideal for your small woodworking furniture projects. Laminates provide a whole range of options in terms of color, texture and patterns adding the much needed variety to your home DIY projects. You can check out Merino Laminates or Greenlam India to get an idea.
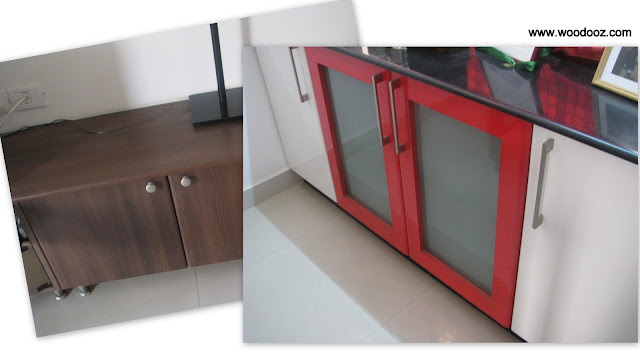 |
| Cabinets installed with laminates |
 |
This tutorial only addresses simple installation of laminates using Fevicol SH synthetic resin glue for “small” projects that you do inside your home. Their industrial applications and factory installation using presses are not handled here. This DIY also has nothing to do with wooden floor laminates.
Step 1: What you need
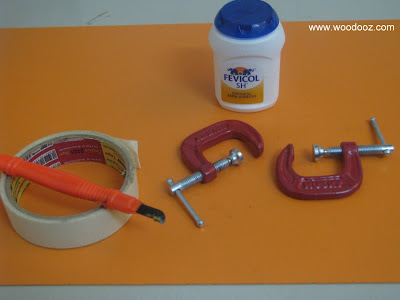
- Laminate (May be available only in 8ftx4ft or similar standard dimensions. You will have to check with your supplier if he will have left over stuff)
- Cutter (A mica cutter or an xacto knife)
- Glue (Fevicol SH Synthetic resin glue)
- Masking tape or clamps
Step 2: Cutting the laminate
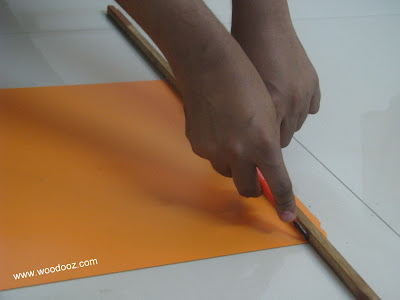
- The laminates are only 1mm thick which makes it easy to cut them to the desired size using a mica cutter (shown above) or an xacto knife.
- They can be cut much like how you would cut a sheet of cardboard using a pencil knife.
- Run the knife or the cutter along the cutting line couple of times before breaking the laminate off.
Step 3: Applying glue
- Have you seen tiles being installed on a smooth wall? Before the installation, the wall is chipped a little along the area of installation to make it rough. This makes it easy for the cemented tile to have a strong hold.
- Similarly, laminates and Mica sheets come with a very rough underside enabling a strong bond to be created with the surface it is being stuck on to.
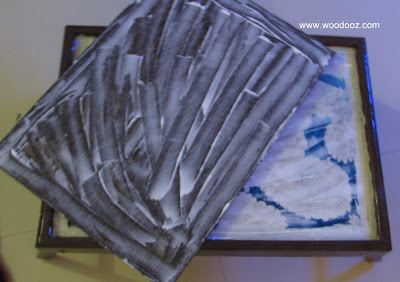
- Apply glue generously on the underside and also on the wooden surface. Give it a minute.
Step 4: Installing the sheet
- Remember I mentioned that they are only about 1mm in thickness? It means that they have a natural tendency to bend (will break beyond a certain point). Because of this bend, they may not sit properly when the glued underside is placed on the wooden surface.
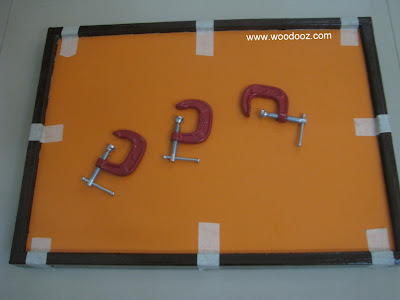
- To overcome to issue, it is important to hold the laminate tightly pressed onto the wooden surface until the glue dries.
- Use a masking tape (Click here for other practical uses for the masking tape) or C-Clamps to keep the laminate in place. Allow enough time for drying (Be safe and wait 8 hrs at least)
Any protrusion of the laminate can be trimmed using the xacto knife to ensure it is neatly aligned along the edge of the wooden surface.
So there you go. Try it out. My plywood supplier has lots of leftover laminate sheets in different sizes. He does not have much use for them because there may not be takers and so is always happy to part with them for an amount. You just need to be lucky enough to find the colors of your choice just as I found the orange laminate for my DIY laptop stand.
It's your turn now
- Have you worked with laminates before?
- Have you used it for your wardrobes and kitchen cabinets ?
- Did you have a tough time choosing from the variety of available designs ?
- Share your thoughts.

